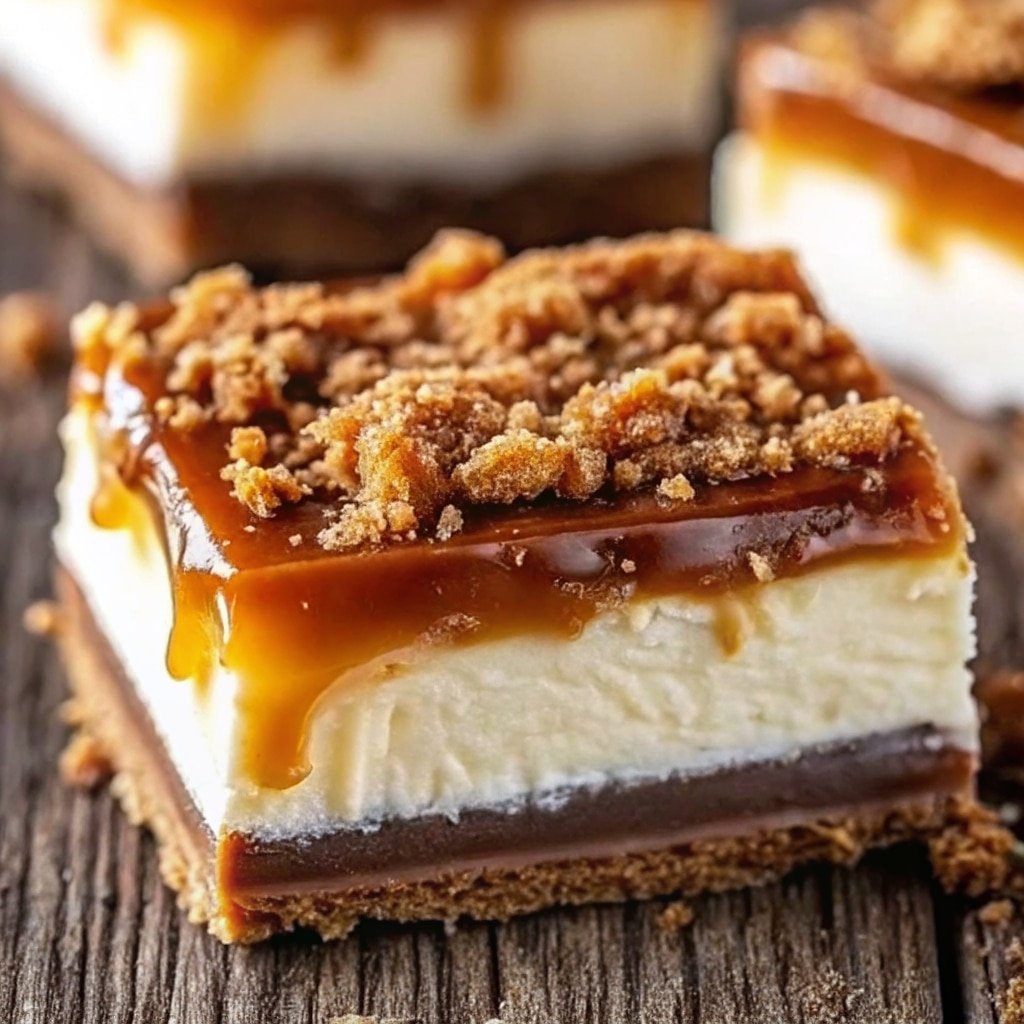
If you’ve ever found yourself sneaking a Butterfinger from the Halloween stash or drizzling caramel over anything remotely edible, you’re going to love what’s coming. This article unpacks the irresistible charm of butterfinger caramel cheesecake bars, a dessert that blends sweet nostalgia with creamy indulgence. From their crunchy base to the gooey topping, these bars are an easy win for home bakers and candy lovers alike. We’ll cover how to make them, answer your top baking questions, and link you to more fast-favorite mug recipes like this one. Trust me—you’ll want to bookmark this treat.
Print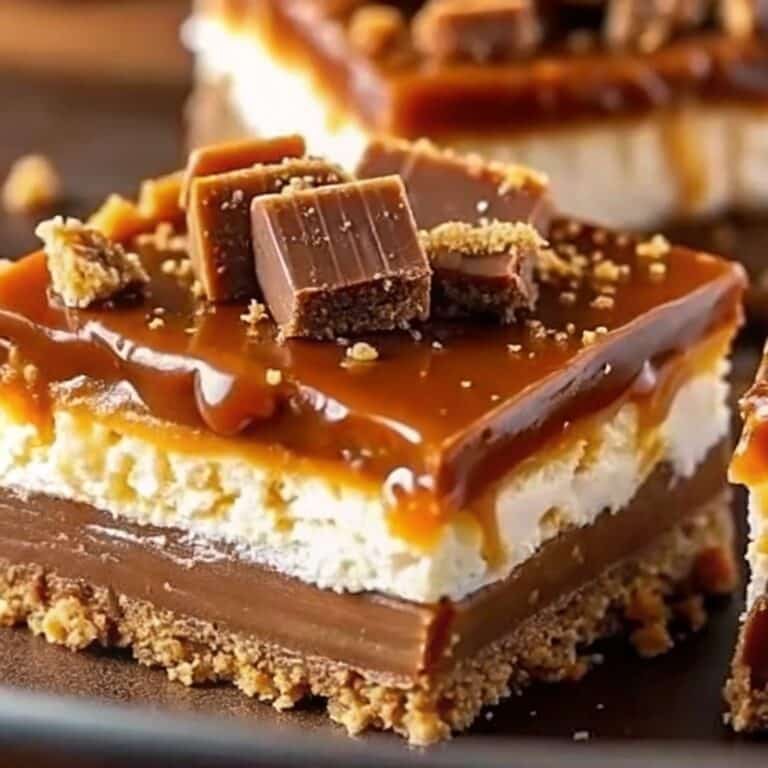
Butterfinger Caramel Cheesecake Bars
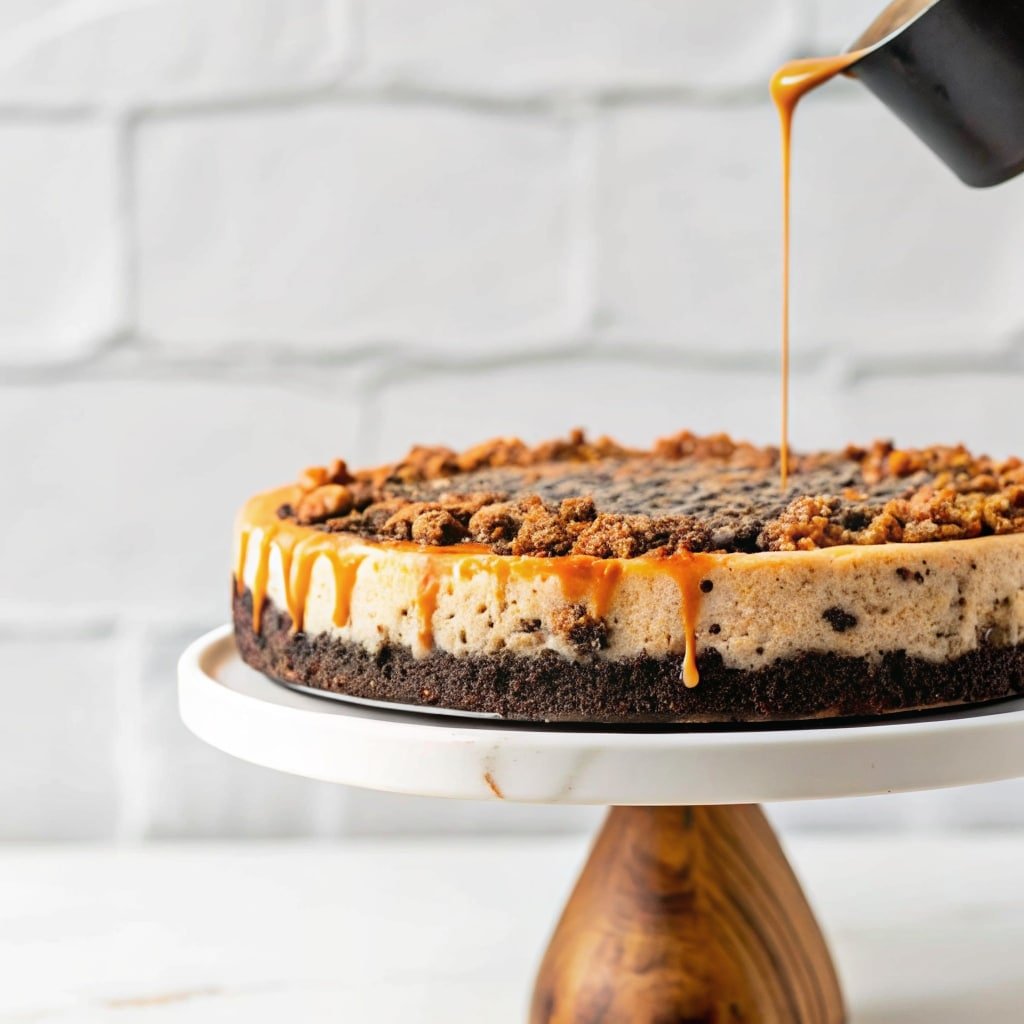
Creamy, crunchy, and topped with sweet caramel—these butterfinger caramel cheesecake bars are an easy dessert win.
- Total Time: 4 hrs (with chilling)
- Yield: 16 bars 1x
Ingredients
1½ cups graham cracker crumbs
½ cup unsalted butter, melted
16 oz cream cheese, room temperature
½ cup granulated sugar
1 tsp vanilla extract
2 large eggs
¼ cup sour cream
1 cup chopped Butterfinger candy
½ cup caramel sauce + extra for topping
Instructions
1. Preheat oven to 325°F. Line an 8×8 pan with parchment.
2. Mix graham crumbs with melted butter and press into pan.
3. Beat cream cheese, sugar, eggs, sour cream, and vanilla until smooth.
4. Stir in caramel sauce and half of chopped Butterfingers.
5. Pour mixture over crust and bake for 35–38 minutes.
6. Cool, then chill in fridge for at least 3 hours.
7. Top with extra caramel and remaining candy. Slice and serve.
Notes
Use room temperature ingredients for the smoothest texture.
Dip your knife in hot water for clean cuts.
Bars can be frozen for up to 1 month.
- Prep Time: 15 mins
- Cook Time: 35 mins
- Category: Dessert
- Method: Bake
- Cuisine: American
- Diet: Vegetarian
Nutrition
- Serving Size: 1 bar
- Calories: 280
- Sugar: 22g
- Sodium: 180mg
- Fat: 17g
- Saturated Fat: 9g
- Unsaturated Fat: 6g
- Trans Fat: 0g
- Carbohydrates: 28g
- Fiber: 1g
- Protein: 4g
- Cholesterol: 55mg
Table of Contents
My First Love Affair with Butterfinger Caramel Cheesecake Bars
That One Time I Got It All Wrong (and Still Loved It)
The first time I made butterfinger caramel cheesecake bars, I rushed it. I only chilled them for 30 minutes before serving, thinking that’d be enough. They collapsed into a delicious, gooey mess—but oh, what a mess it was. The caramel melted into the crust, the bars slouched off the plate, and still, every bite was devoured in silence. That moment convinced me I was onto something good.
Since then, I’ve taken the time to let them set properly. When chilled, these bars hold together like a dream—crunchy Butterfinger bits on top, creamy cheesecake beneath, and a rich caramel that ties it all together. If you love layered textures like this, you might also enjoy this no-bake protein cheesecake for a chilled treat with less fuss.
Why Butterfinger and Cheesecake Belong Together
Butterfinger is bold and unapologetically sweet with its signature crunch. Cheesecake, on the other hand, is smooth and tangy. When they meet, it’s a beautiful contrast. The candy’s crispy texture brings out the richness in the cream cheese base, while the caramel drizzle adds just the right amount of stickiness to hold your taste buds hostage.
I often recommend this butterfinger caramel cheesecake bars recipe to anyone who enjoys balanced flavors in quick desserts. For another creative combo, this Dubai-style chocolate strawberry mug cup has a similar wow factor, though with fruit instead of candy. Both are about pairing a single bold flavor with something creamy and comforting.
From Crust to Caramel – Building the Perfect Layer
Ingredients You’ll Need for Butterfinger Caramel Cheesecake Bars
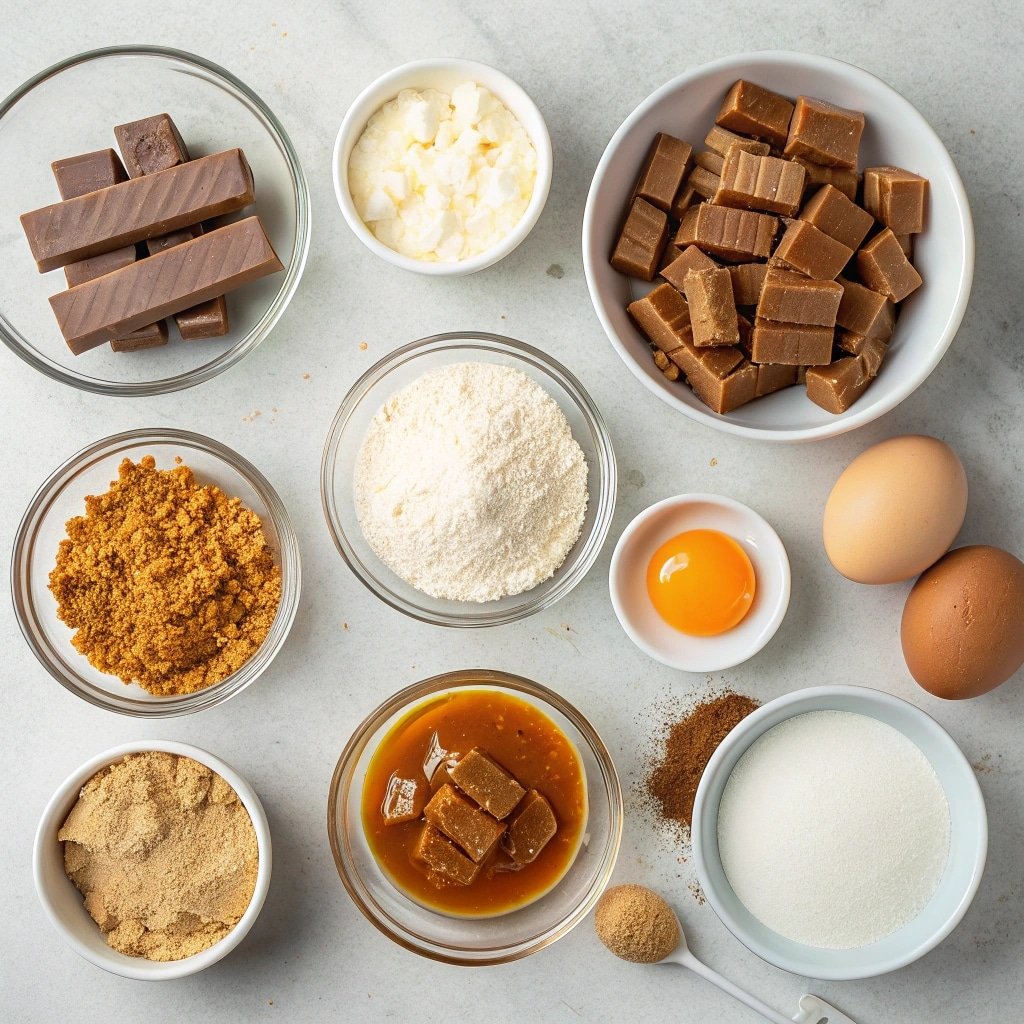
These butterfinger caramel cheesecake bars use familiar, pantry-friendly ingredients. The combination of crunchy candy, creamy filling, and buttery crust makes every bite unforgettable. Here’s what you’ll need:
| Ingredient | Amount |
|---|---|
| Graham cracker crumbs | 1½ cups |
| Unsalted butter (melted) | ½ cup |
| Cream cheese (room temp) | 16 oz |
| Granulated sugar | ½ cup |
| Vanilla extract | 1 tsp |
| Eggs | 2 large |
| Sour cream | ¼ cup |
| Chopped Butterfinger candy | 1 cup |
| Caramel sauce | ½ cup + extra for topping |
Using chopped Butterfingers gives the cheesecake bars that signature crunchy texture. For another mug-based treat that layers similar ingredients, this chocolate chip mug cake satisfies every sweet tooth in minutes.
Step-by-Step Instructions That Work Every Time
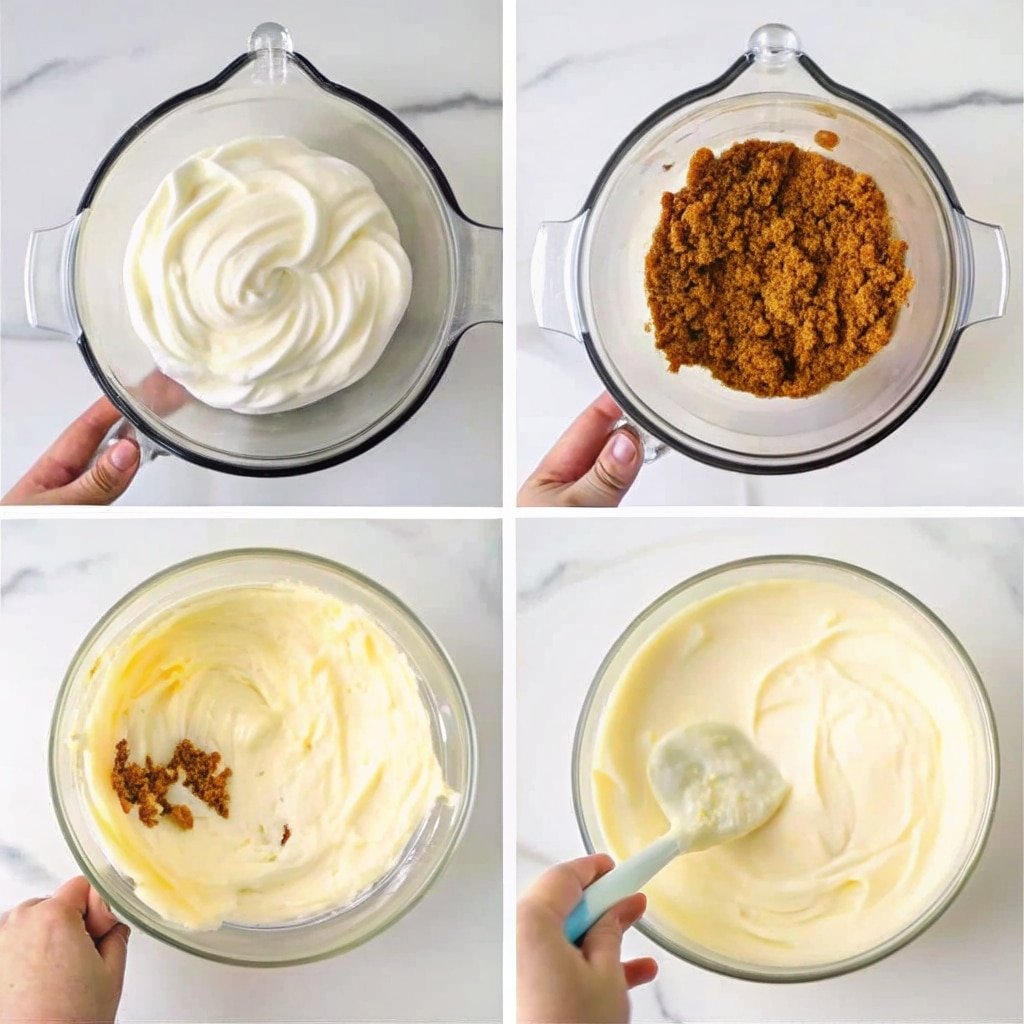
Follow these simple steps to make butterfinger caramel cheesecake bars that hold their shape and deliver bold flavor. No special tools required.
- Preheat your oven to 325°F (163°C). Line an 8×8-inch baking dish with parchment paper.
- Mix graham cracker crumbs and melted butter in a bowl. Press the mixture firmly into the pan to form a crust.
- In another bowl, beat cream cheese until smooth. Add sugar, eggs (one at a time), sour cream, and vanilla. Mix just until combined.
- Pour in the caramel sauce and gently fold in half of the chopped Butterfinger candy.
- Spread the cheesecake mixture evenly over the crust.
- Bake for 35–38 minutes, until the edges look set but the center still jiggles slightly.
- Cool completely at room temperature. Then refrigerate for at least 3 hours (overnight is best).
- Top with more caramel and remaining chopped Butterfingers before slicing into bars.
This method keeps everything simple and clean, which is a big part of why I love working in a small space. Another recipe that nails that convenience is the high protein mug cake, especially when I’m short on time but still want something warm and rich.
Serving, Storing, and Savoring the Bars
How to Cut and Serve Butterfinger Caramel Cheesecake Bars
Once your butterfinger caramel cheesecake bars have chilled fully, it’s time to slice and serve. For clean, neat squares, dip a sharp knife in hot water, wipe it dry, and slice in one firm motion. Wipe the blade clean between cuts to keep the bars looking bakery-perfect. This matters especially if you’re serving them for a party, bake sale, or holiday tray. The caramel swirl on top shines when you slice straight through it.
I often serve these bars cold, but if you love contrast, try letting them sit at room temperature for 10 minutes. It softens the texture just enough. For something single-serve and similar in satisfaction, try this microwave mug quiche as a savory break between sweet bakes.
Best Ways to Store and Enjoy Later
These bars hold up beautifully in the fridge for up to five days. Store them in an airtight container with parchment between layers to prevent sticking. For longer storage, freeze individual squares wrapped in plastic and foil. Thaw overnight in the fridge or for 30 minutes at room temperature. The Butterfinger pieces stay surprisingly crisp after freezing.
If you love making treats ahead of time, these bars are a reliable option. And if your freezer’s packed, opt for fast microwave recipes like this protein pancake bowl when you want something warm and filling in under five minutes.
FAQs About Butterfinger Caramel Cheesecake Bars
How do you make Butterfinger caramel cheesecake bars from scratch?
You start with a graham cracker crust, followed by a smooth cheesecake filling mixed with caramel and chopped Butterfinger candy. After baking and cooling, drizzle more caramel and add extra candy pieces. These steps create that ideal layered texture with a sweet, creamy crunch.
Can I use store-bought caramel sauce for cheesecake bars?
Yes, and I do it often. Store-bought caramel saves time and still delivers the flavor you want. Just look for a thick sauce that won’t melt into the batter too much. Spoon some into the batter, then swirl more on top after baking.
What’s the best crust for Butterfinger cheesecake bars?
Graham cracker crust is classic, but Oreo or vanilla wafer crusts also work. Choose based on how much sweetness or crunch you want at the bottom. For butterfinger caramel cheesecake bars, I recommend using graham to let the caramel and candy shine.
How do you store Butterfinger caramel cheesecake bars?
Refrigerate them in an airtight container for up to 5 days, or freeze wrapped bars for longer storage. Let them thaw before eating so you can enjoy the full flavor and texture. Bars with candy can soften if left out too long, so keep them chilled until serving. If you’re into recipes that store well, try this oreo cake mug recipe—easy to prep ahead and reheat when needed.
Conclusion
Butterfinger caramel cheesecake bars blend classic dessert flavors into an easy, crowd-pleasing treat. With their buttery crust, creamy filling, and crunchy candy topping, they deliver texture and richness in every bite. Whether you’re baking for a weekend treat, a special event, or just because you love Butterfinger (who doesn’t?), these bars are worth your time. Keep your ingredients simple, your technique clean, and your chilling time sacred—and you’ll never go wrong.
If you’re looking for more microwave-friendly desserts and no-fail comfort food ideas, follow along on Pinterest for quick mug recipes or join me on Facebook, where I share cozy creations, kitchen wins, and community Q&As every week. Your next favorite bite might be just one mug away.


